What is an Ink Drawdown/Press Check?

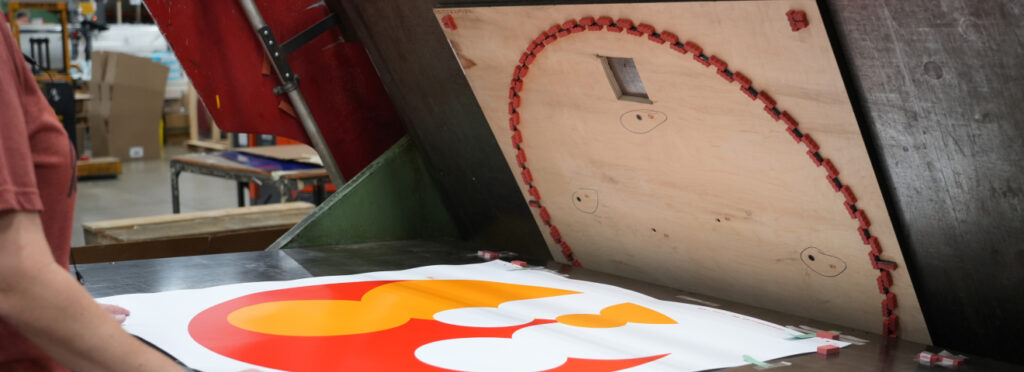
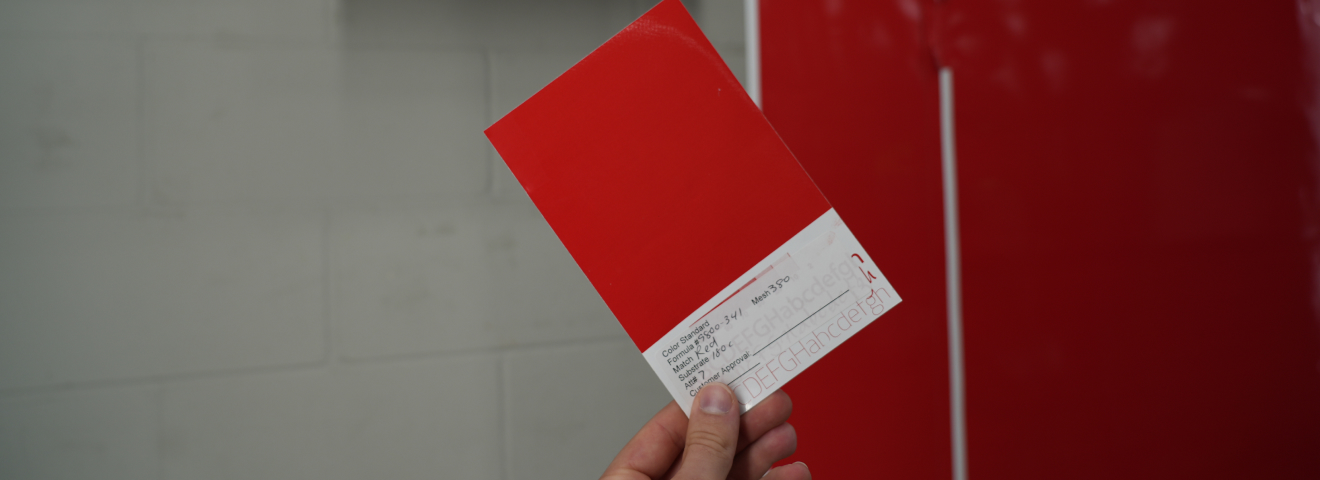
Have you ever been asked to request an ink drawdown, press check, or color drawdown? These are all print industry terms for the same thing. Essentially, an ink drawdown is testing how the colors appear on the material you want to use. Think of it as a paint sample you would get when deciding what color to paint your room. Except, in an ink drawdown you are also testing the material it is on as well.

These samples are important because ink is extremely capricious and will be affected by even the smallest changes (like a change in the material). Understanding these changes will help us create an updated ink recipe to combat those changes so that the ink on the new substrate looks exactly how you want it to. Knowing how the colors will react to the material before performing a full production will also decrease chances of rework and cost. This is why we always perform internal drawdowns even if our customers do not request one. This is not always the case for printers and print management companies, make sure to advocate for yourself or utilize an attentive printer. We are extremely confident to say that we have the best ink formulation team in the nation so if you have any questions feel free to contact us.

What is Die Cutting?

Cutting techniques can make or break a project budget. That is why it is important to learn when to use the right machine for the job. Otherwise, you could be losing unnecessary money. We will look at what die cutting is and when you should use it!

Simple Answer:

In its simplest form, die cutting is essentially just a large cookie cutter for your design. It’s meant to pump out parts fast and precisely. Similar to screen printing, the setup for die-cutting takes longer but is faster on the production end. Its sweet spot is large quantities with substrates less than .5” thick. If you have a thicker substrate or smaller quantities that’s okay! There are plenty of other cutting options and we have even die-cut foam up to 3” thick! That is why it’s important to have a printer with the knowledge and alternate cutting capabilities in-house.

A die-cutting project has 3 elements.

1. The Die Line

The die line is essentially the guide for us to make the cuts or creases. These die lines can be very tricky to read, but it is imperative that they are correct.

2. The Cutting Die / The Die

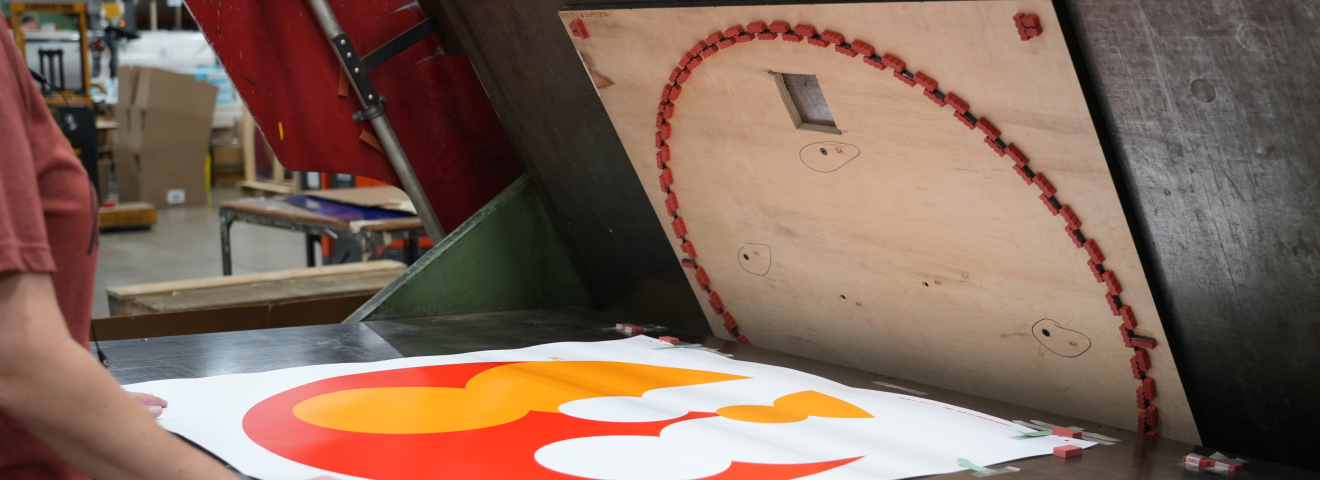
A die can either be curved or flat. We typically used a curved die (aka a rotary die) when the parts are small and there is a dramatically higher volume (think sticker size). Every cutting die has a base with blades sticking out of it. Some of those blades are sharper to cut straight through and some are duller to score the material in case you need it to fold or bend. The rubber pieces are to help the blades cut evenly.

3. Die-Cutting Machine

There are 3 major die-cutting machines: roll fed die-cutting, sheet fed die-cutting, and rotary die-cutting. Typically, a die-cutting machine is 4 feet wide so you would want the dimensions of the die-cut part to be less than 22” x 32”. We don’t believe in being held back and that is why we have some of the largest format die-cutting machines in the US.

The more you are under budget, the more revenue you produce. It is important that you are using the most efficient method based on your project specs and not constrained by machine capabilities. Otherwise, it can limit your budget and weigh down your bottom line. Shameless plug: If you want to know if your project is as efficient as it could be, we would be happy to give you a 2nd opinion! Our scope of equipment ensures that you are using the best method for your project.

Tips for Utilizing Stair Graphics Effectively

Plan and implement a winning strategy by utilizing Stair Graphics to communicate your brand
and/or messaging!

Create success with every step

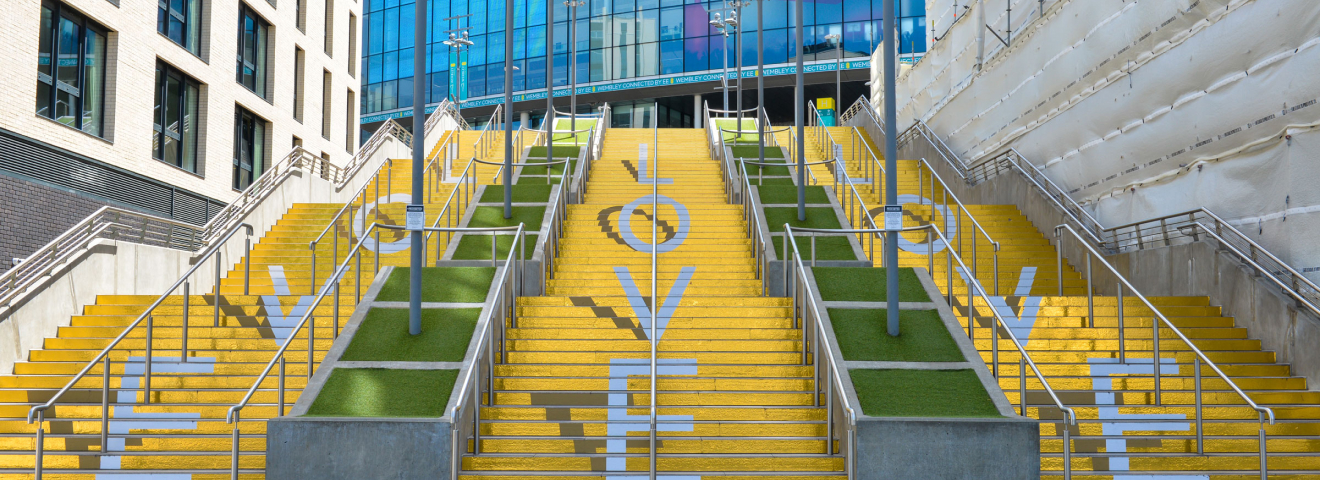
Promotion companies, marketing, and advertising agencies along with specialized media companies are always on the lookout for innovative concepts for making advertising campaigns as effective as possible. The objective is to create a targeted and simultaneously extensive advertising presence, by locating the campaign on the attractive and mostly underutilized / unexpected advertising format. Both a design element and a branding opportunity, stair graphics are being used for events, premier parties, and galas.

On the commercial side, brands have been popping up on heavily traveled staircases all over the world displaying massive ads for their products and services.


Schools allow the transformation of ordinary flight of stairs into a striking visual that reinforces behavior expectations, supports school spirit, and promotes student success.


Transform an arena from average to a standout amongst its competitors, by taking away blank space and turning it into art. Possibilities include championship teams photos, alumni images, opening days or other seasonal events. Additional options for stair messaging includes murals, motivational quotes, along with core value messaging.


Stair graphics do not have to be used for athletics and can be functioned to fit all projects a school desires. Graphics can be used on any staircase, including residence halls, dining halls, academic buildings, and dorms.


Add the unique, yet not over the top design, that turns a blank space into a completely different point of interest. The attention drawn from the graphics can take an average, or even outdated part of a venue, and create what feels like a newly renovated area.

A stair graphic treatment is surprisingly affordable and can be completed with no harm done to the structure itself.


While stair graphics are dramatic, the product itself is economic, easy to install, clean and will last for years.


Do not overlook the option of “Stair Graphics” – especially when your audience needs to go that direction every day. It’s a great use of space that definitely gets noticed!

Top 3 Ways to Cut Down Shipping Costs on Your Print/Converting Project

At Modernistic, we often get asked by our customers “how are you able to cut our shipping times down by so much?” That is why I want to go over the top 3 ways you can cut down shipping costs on your print/converting project. This is more important than ever now as the supply chain gets more bottlenecked and more unreliable. Let’s jump right into it.

1. Design

The first way is also the first step in the process. Design! We design our products to ship efficiently, that way you start with a healthy foundation right from the start. Just like in a house, if you start with a healthy foundation the rest will be set up for success. A lot of shipping costs can be reduced by engineering the design with shipping in mind.


For example, a large fashion retail brand came to us with this huge fixed-box display. The first thing we noticed is that it could be easily redesigned in a couple minutes to be more efficient. This affected how it broke down, was able to ship flat, etc. It cut the shipping cost by 50%, saving thousands of dollars, just through a couple simple steps. *We would love to share a picture of this project but due to proprietary designs and our customer’s wish for privacy, we are unable to share this project.*

2. Efficient Kitting

The second way to reduce shipping costs is efficient kitting. I can’t stress enough how often we see extremely inefficient kitting setups. We always use precise and lean kitting techniques because we know they are proven to help reduce costs.


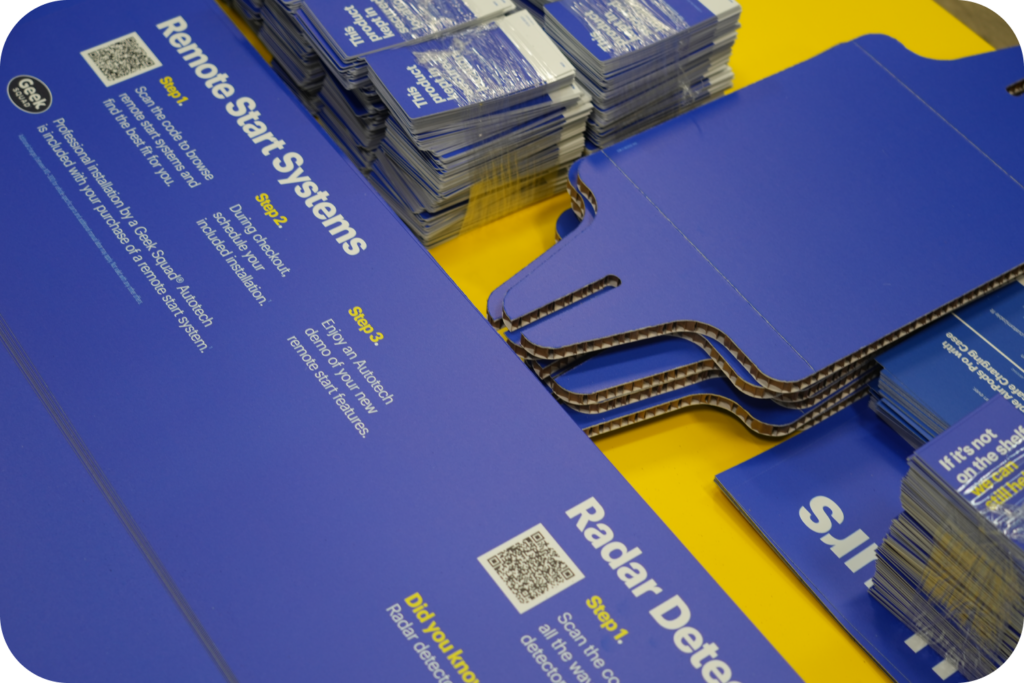
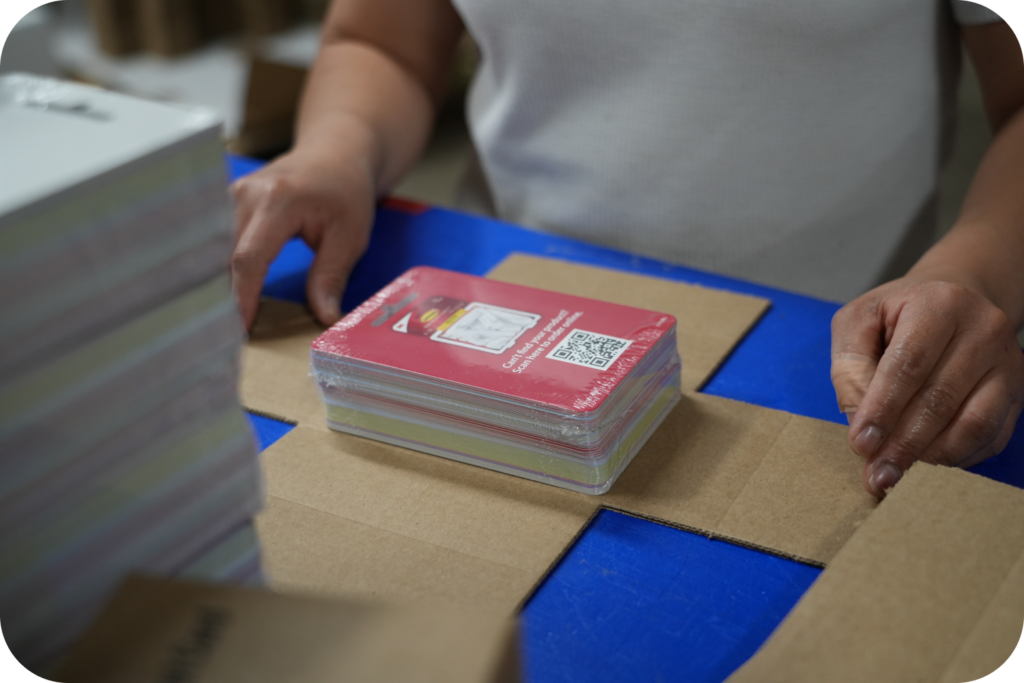
Another example, one of the tools we utilize is a custom box maker. This helps us maximize the purpose of every inch of space in a kit. Whether we are shipping to one location or 1,000 we are able to quickly create custom kits to exact specifications so every inch is utilized. Eliminating any extra space, size, and weight. It also indirectly makes the contents more secure because of
everything more tight.

3. Location, Location, Location!

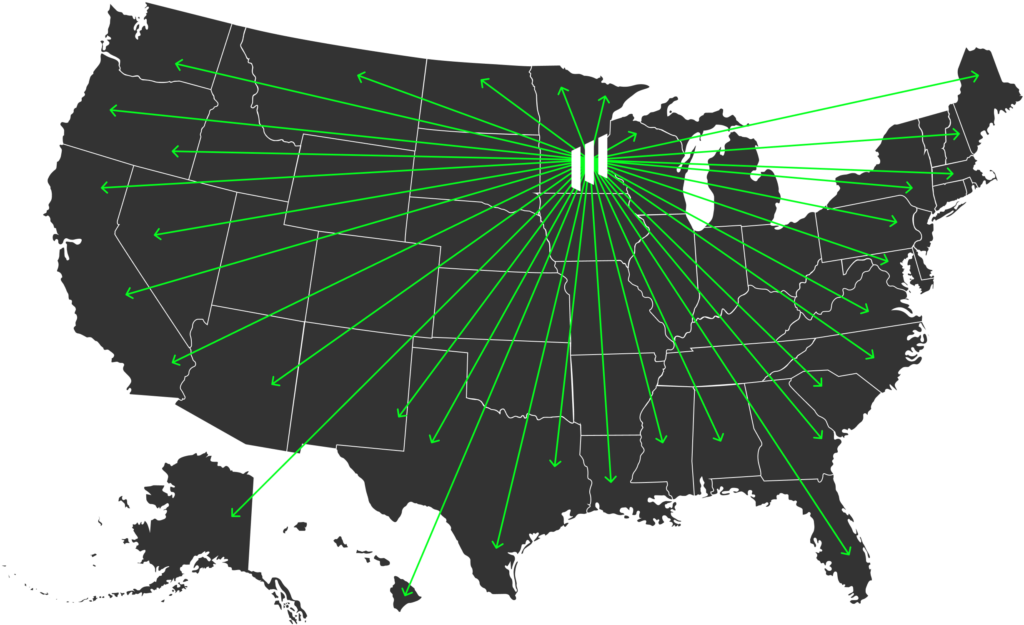
The third way to reduce shipping cost is location. Having a neutral location is extremely helpful in reducing ship time and cost. Our location in the midwest situates us perfectly to keep fast, affordable, and reliable shipping lanes for anywhere in the US. This can make or break a project budget and can’t be overlooked.


These are just a couple examples of how small, efficient steps can affect so much of the overall project cost. It even affects sustainability, you are using less fuel, less box inventory/waste, and less bubble or microfoam. (Side note: if you are still using bubble wrap, you should look into switching to sustainable packaging material). This is just the start of how we are able to reduce cost, minimize waste and maximize value, quality, and speed.


Let us know if you have any questions or want help on your next project by contacting us.

3 Tips to Brand Protection Decor

Over the past couple of years during the pandemic, we have introduced some creative protection products into the market. During this time, we have found a direct relationship between perceived in-store safety and a customer’s trust in products. In other words, the more a customer feels safe in your store, the more likely they will feel safe buying the products you have to offer. These new variables have created a great new opportunity to grow trust with your brand just by utilizing protection decor.

In this article, we will look at several ways in which we can protect customers and employees against infectious diseases while improving the décor of your store.

Antimicrobial Mats

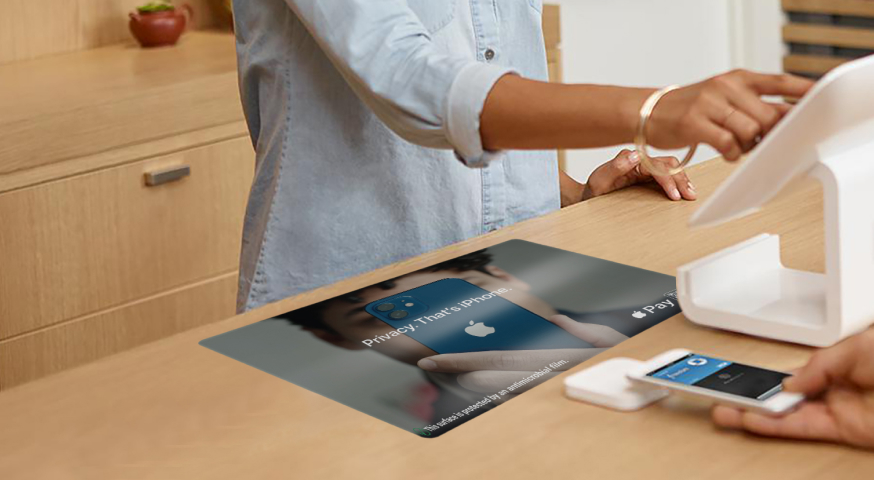
We are really excited about this safety product because it looks as subtle as a clear film (which it is), but is easy to apply like a mat. This “mat” has an antimicrobial silver-ion additive that inhibits the growth of most bacteria, mold and mildew while resisting harsh cleaning chemicals. Essentially, it transforms the surface it is applied to into a germ-killing machine. The printability is also really versatile because you can print a full flood or leave some areas clear. Put it at a school desk with a safety reminder or a cash register with a payment QR Code. Either way, it’s easy to remove and apply, has 24/7 surface protection, all while giving the ability to express your message.

Social Distancing Graphics

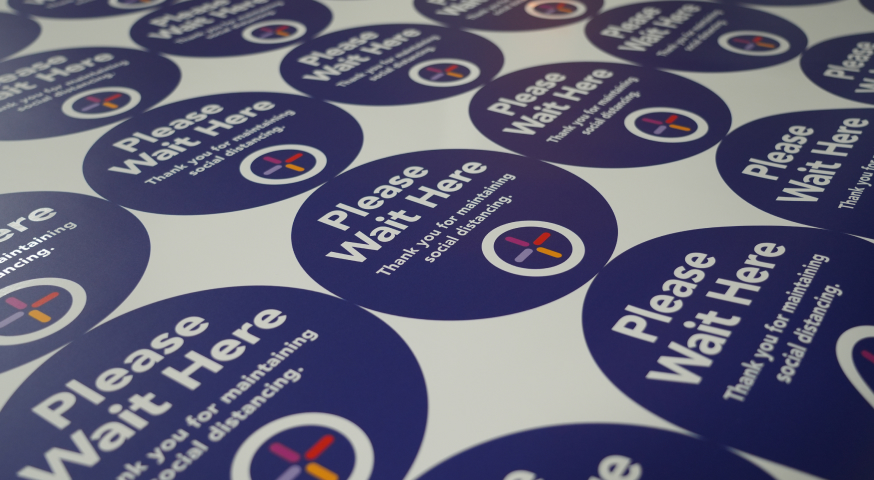
Social distancing graphics are nothing new in the past couple years, but what else are you using them for? Are you implementing any other elements that you can use to increase revenue? You can also use different print techniques to get a different shine, shape, or even make them antimicrobial! Not only that, but you can use different substrates to make them more affordable, grippy, stain resistant, or even sustainable! The options are literally endless.

Clear Guards

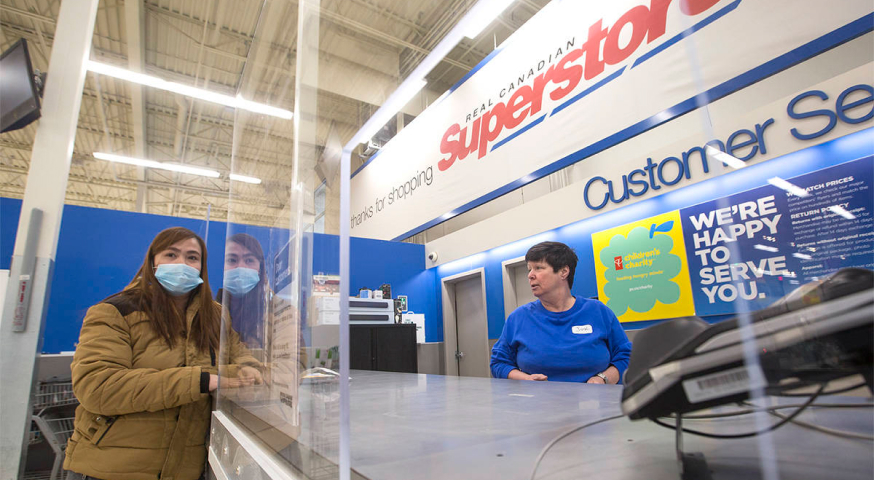
There are so many words to categorize this type of product because they are so popular, and for a great reason – they are excellent at protecting. However, many people are overlooking a huge opportunity to grow their brand. You can print on them! Whether a QR code or the latest marketing campaign, the customer literally has to look at these when checking out. That level of communication/advertising is priceless, and normally costs a firm millions of dollars. Have you already ordered a lot? No worries, we have created an awesome aftermarket solution. Ask us about it!

We want you to grow revenue, it’s literally our mission! That’s why we wanted to share just a couple quick ways we help our clients better efficiently do just that.